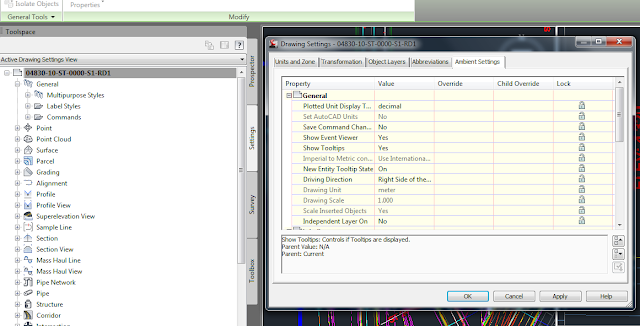
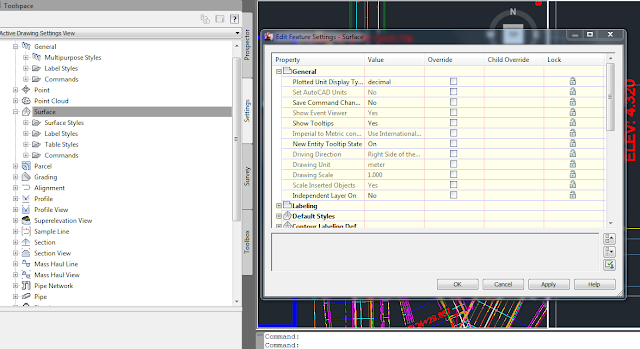
So you want to move your drawings around on a directory......You've already created an identical folder structure to what was originally employed in the initial project path. You've moved your working drawing models in the copied structure. You've already pathed the project data to the new project path.
Image 1
Image 1, above, shows the proposed new project path, changed from a "Z-drive" (network).
If you're lucky enough to have the software open a drawing for you, you may become unlucky because the project may not be pathing the correct data shortcuts (possibly using out of date objects).
If you have moved drawings and these drawings included data shortcuts, you'll need to use the DATA SHORTCUT EDITOR to fix the paths before opening any drawings. The DATA SHORTCUT EDITOR comes complete with the C3D package.
Image 2
Before you open the DATA SHORTCUT EDITOR, be sure to close all drawings that are being referenced to the subject project.
If you don't update the shortcuts the software begins searching for data shortcuts that are still pathed to the original network, a drive that may not exist anymore (my laptop doesn't have a "Z-drive"). Before I open the relocated drawings, and after I've copied the drawings to the desired path AND updated the project path as shown in Image 1, I open the DATA SHORTCUT EDITOR. In the DATA SHORTCUT EDITOR, I began to use the Find and Replace option to rename the paths. It may seem like a daunting task at first, but if you use the Replace All option you'll find it goes quicker than originally thought.
Image 3
Image 3 above shows the updated shortcut paths. You know you're good when your shortcuts here match the path shown above in Image 1.
Your drawings should open now.
Talk to you soon.
George


